

TEX Shura DIY build guide
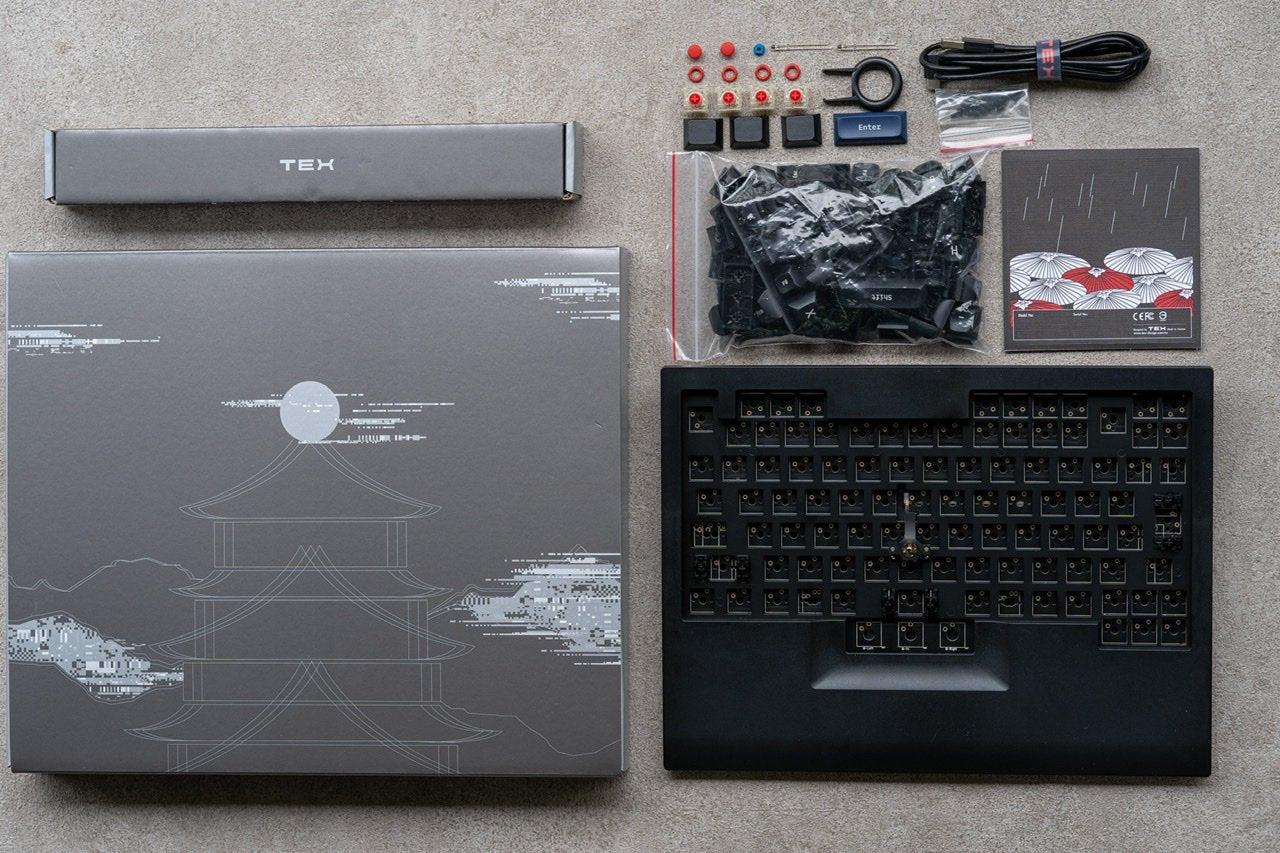
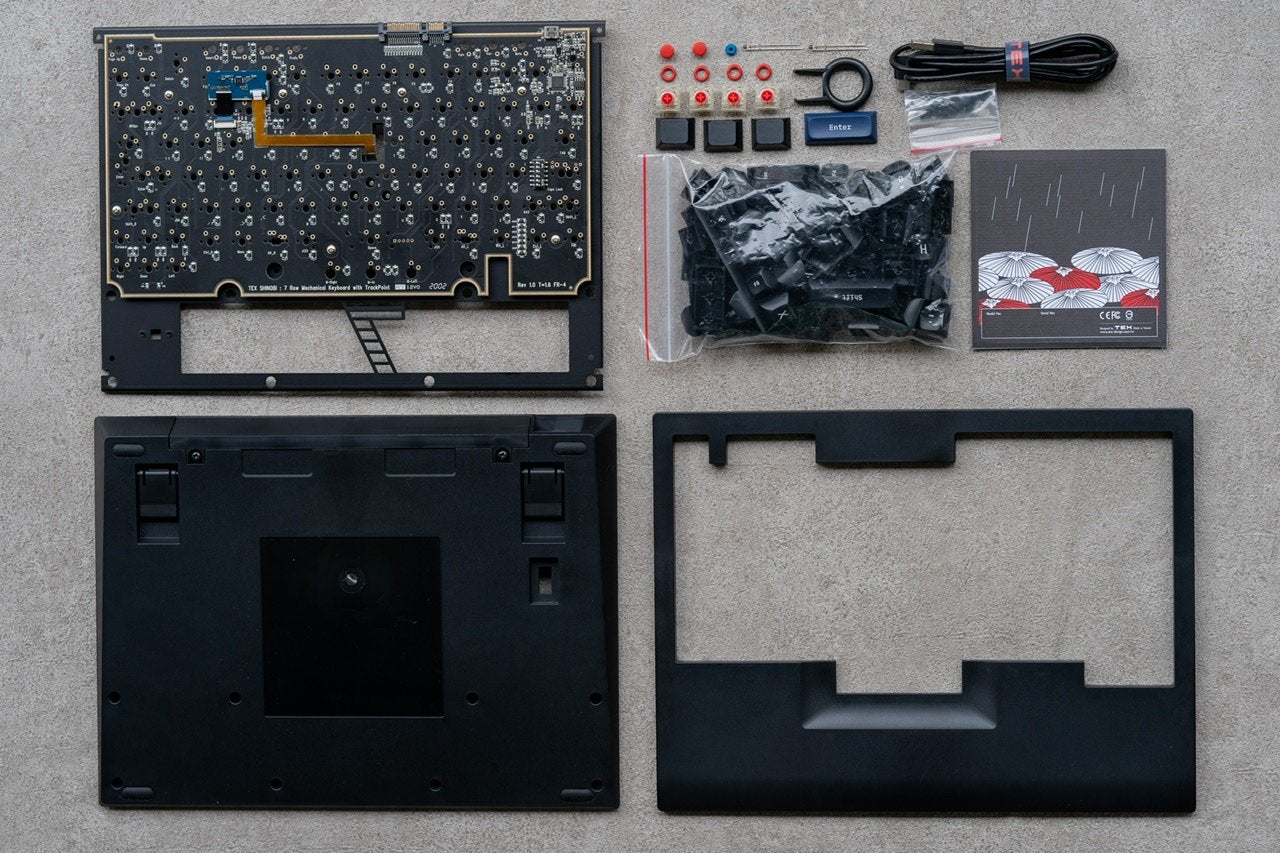
Welcome to the TEX Shura DIY build guide! These instructions will teach you how to fully assemble your TEX Shura. If you have any questions, please contact us. (service@tex-design.com.tw) Let‘s...
Popular searches
Popular searches

Featured post
Welcome to the TEX Shura DIY build guide! These instructions will teach you how to fully assemble your TEX Shura. If you have any questions, please contact us. (service@tex-design.com.tw) Let‘s...
Welcome to the TEX Shura DIY build guide! These instructions will teach you how to fully assemble your TEX Shura. If you have any questions, please contact us. (service@tex-design.com.tw) Let‘s...

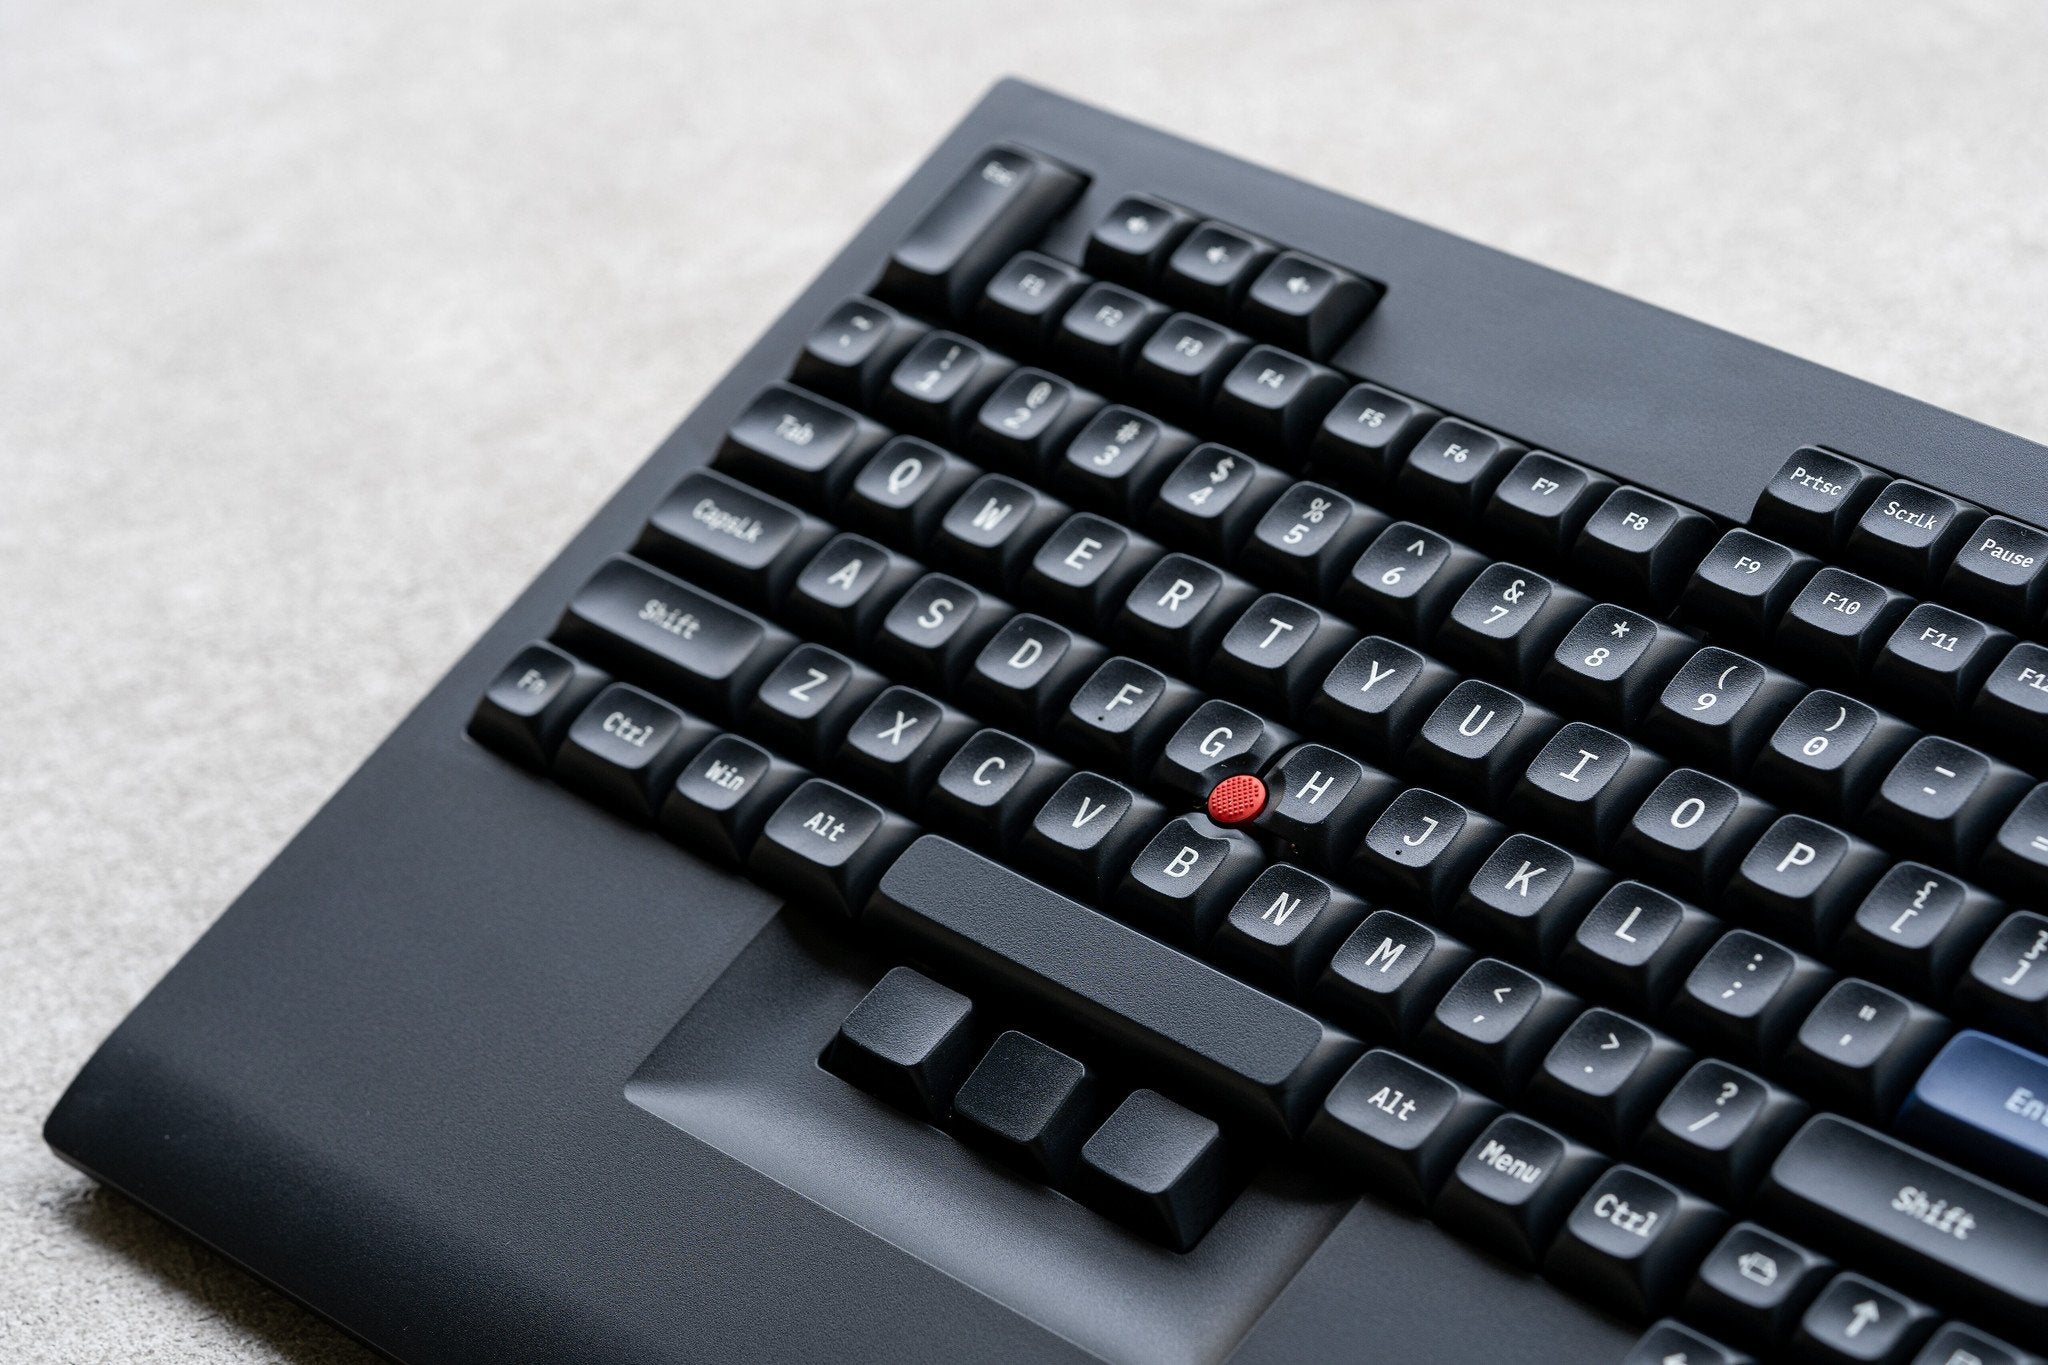
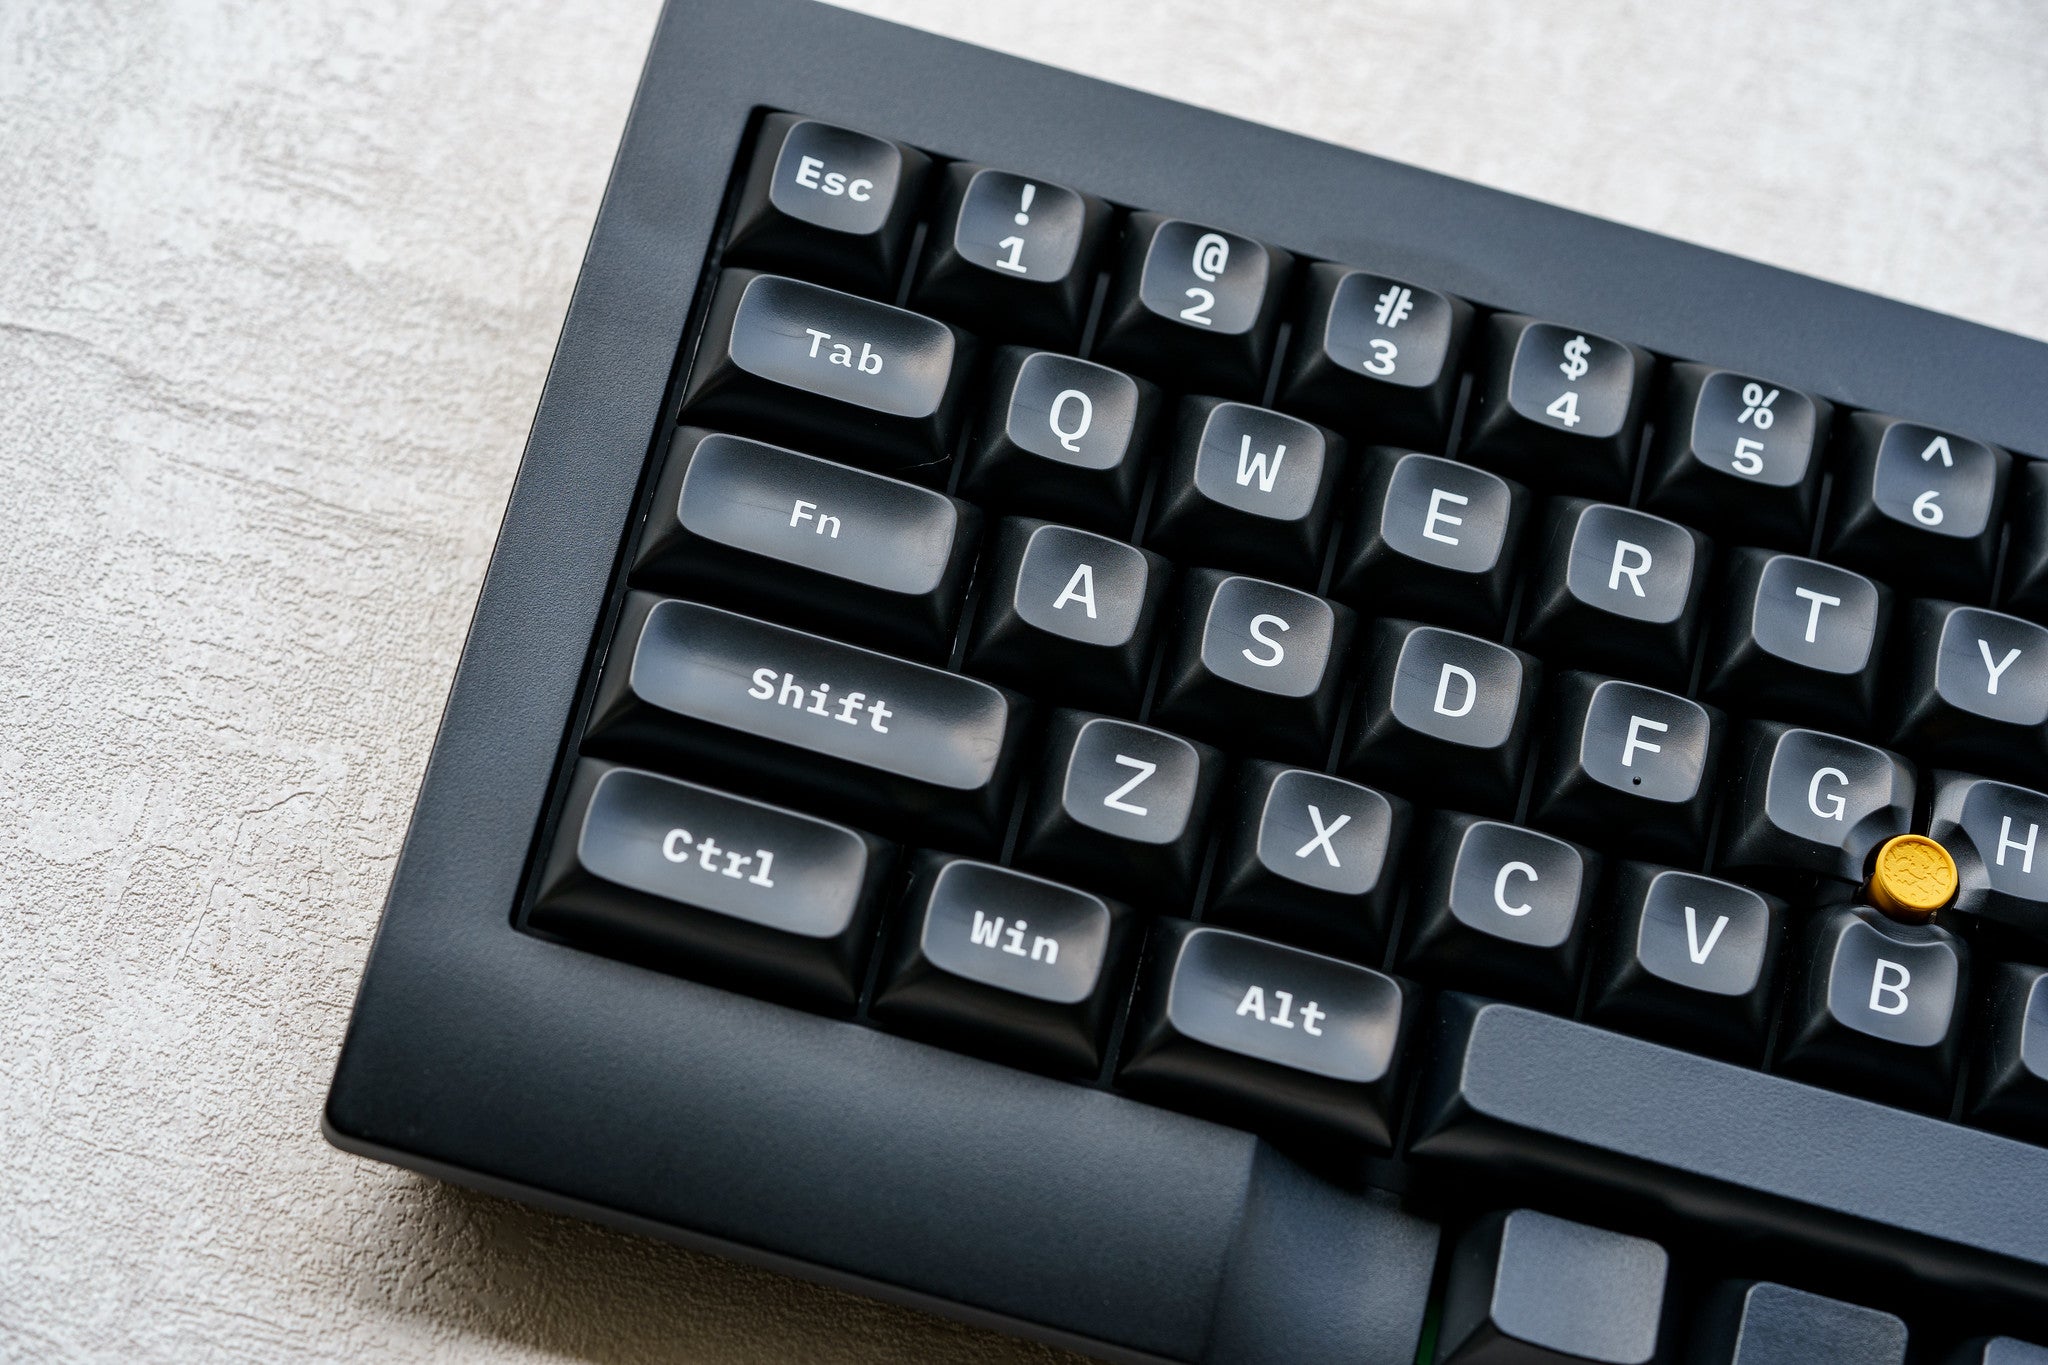
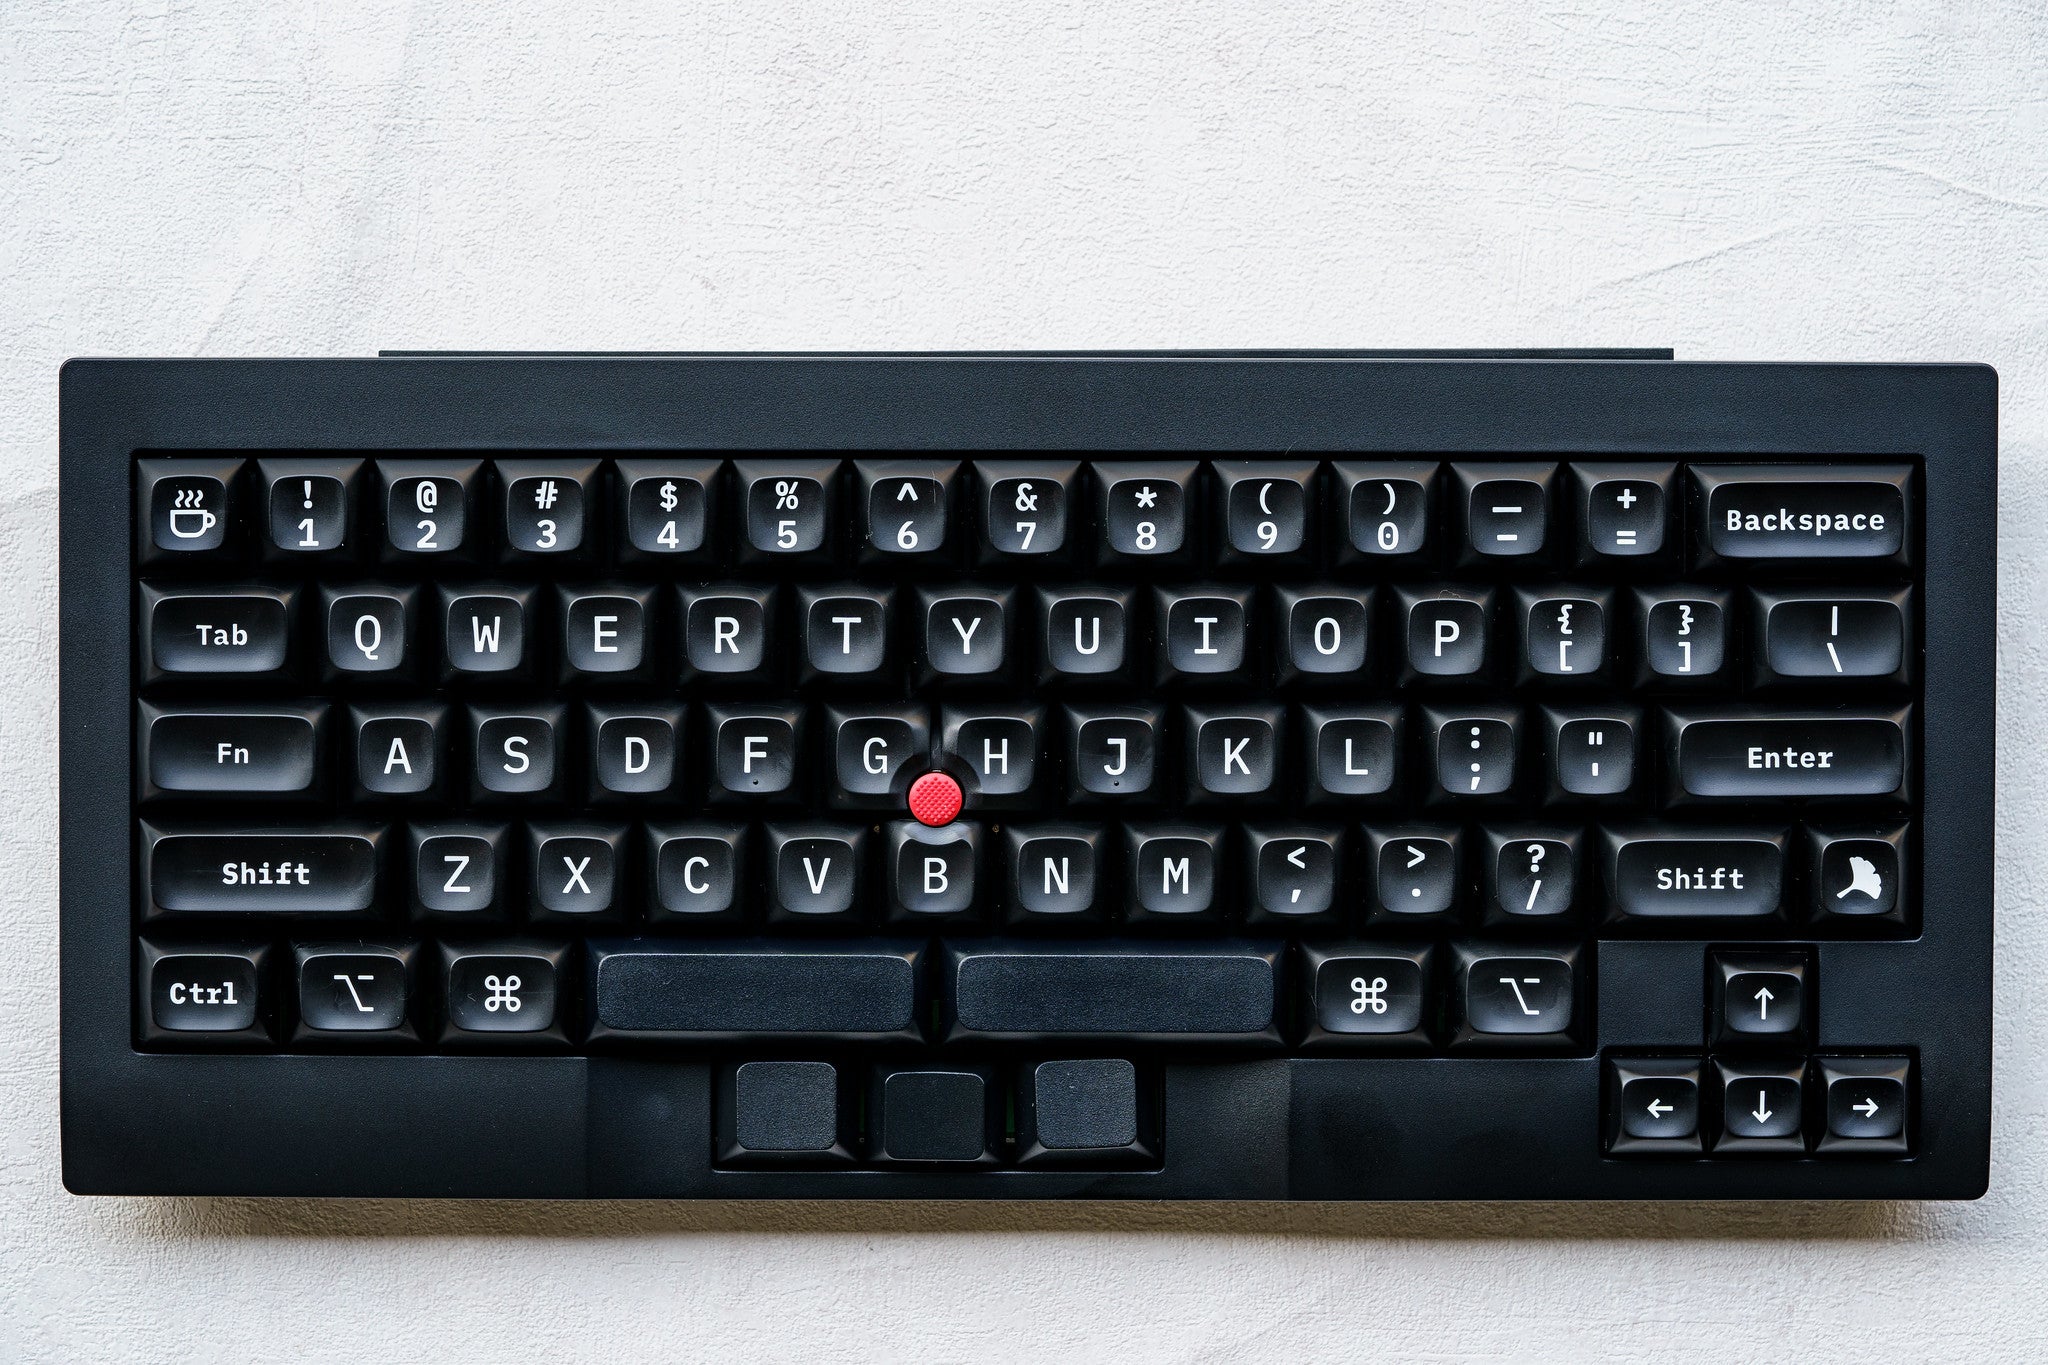
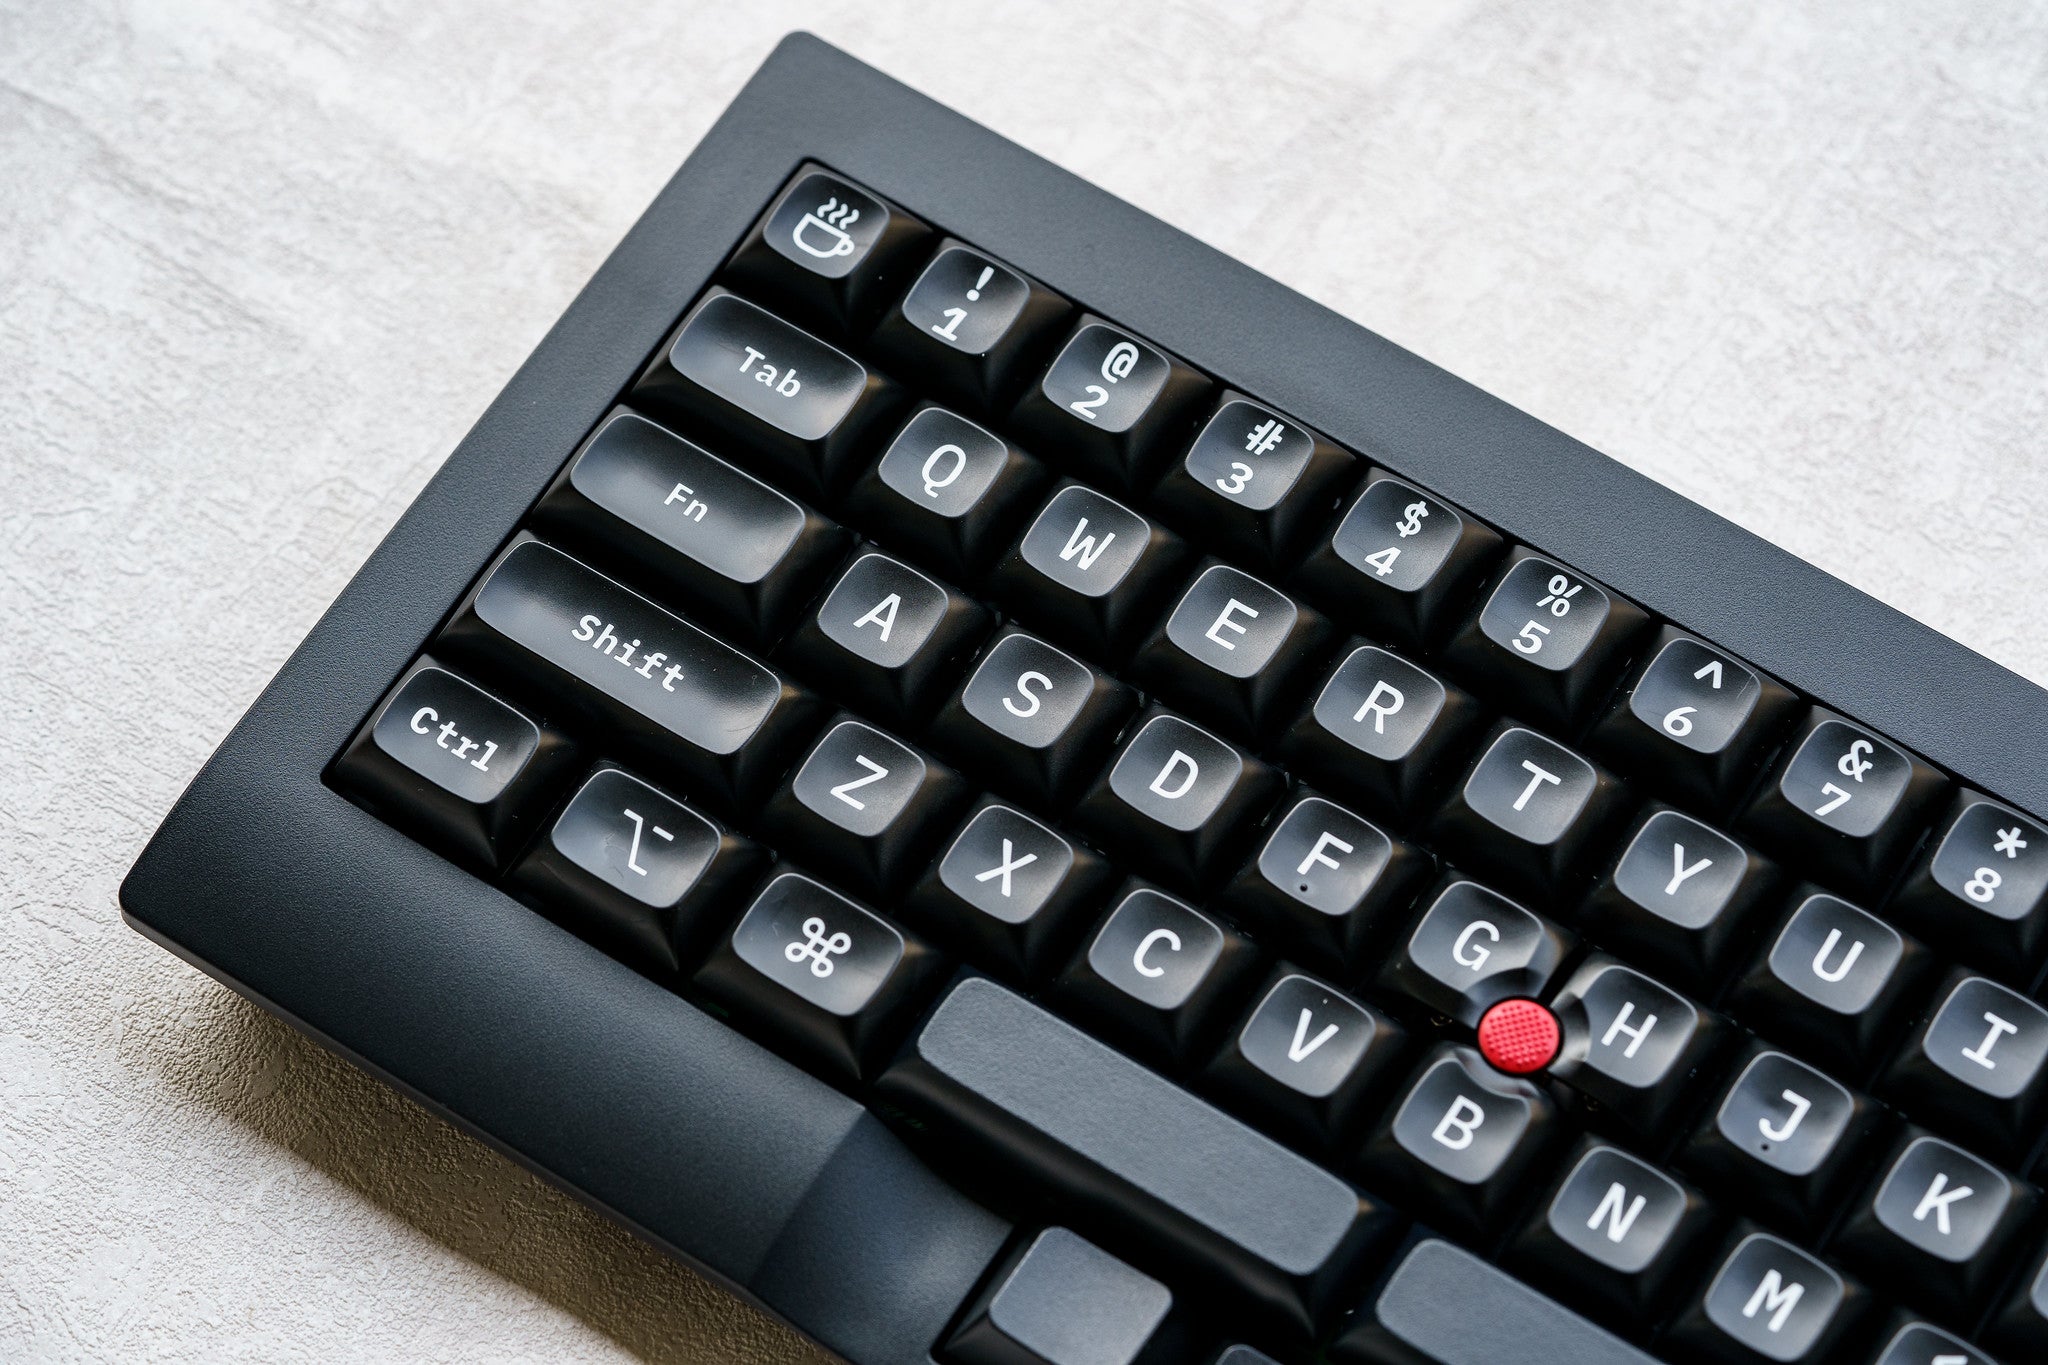
TEX SHINOBI : DIY build guide .... 7-Row mechanical keyboard with TrackPoint
TEX SHINOBI Update : Shipping date & mass production

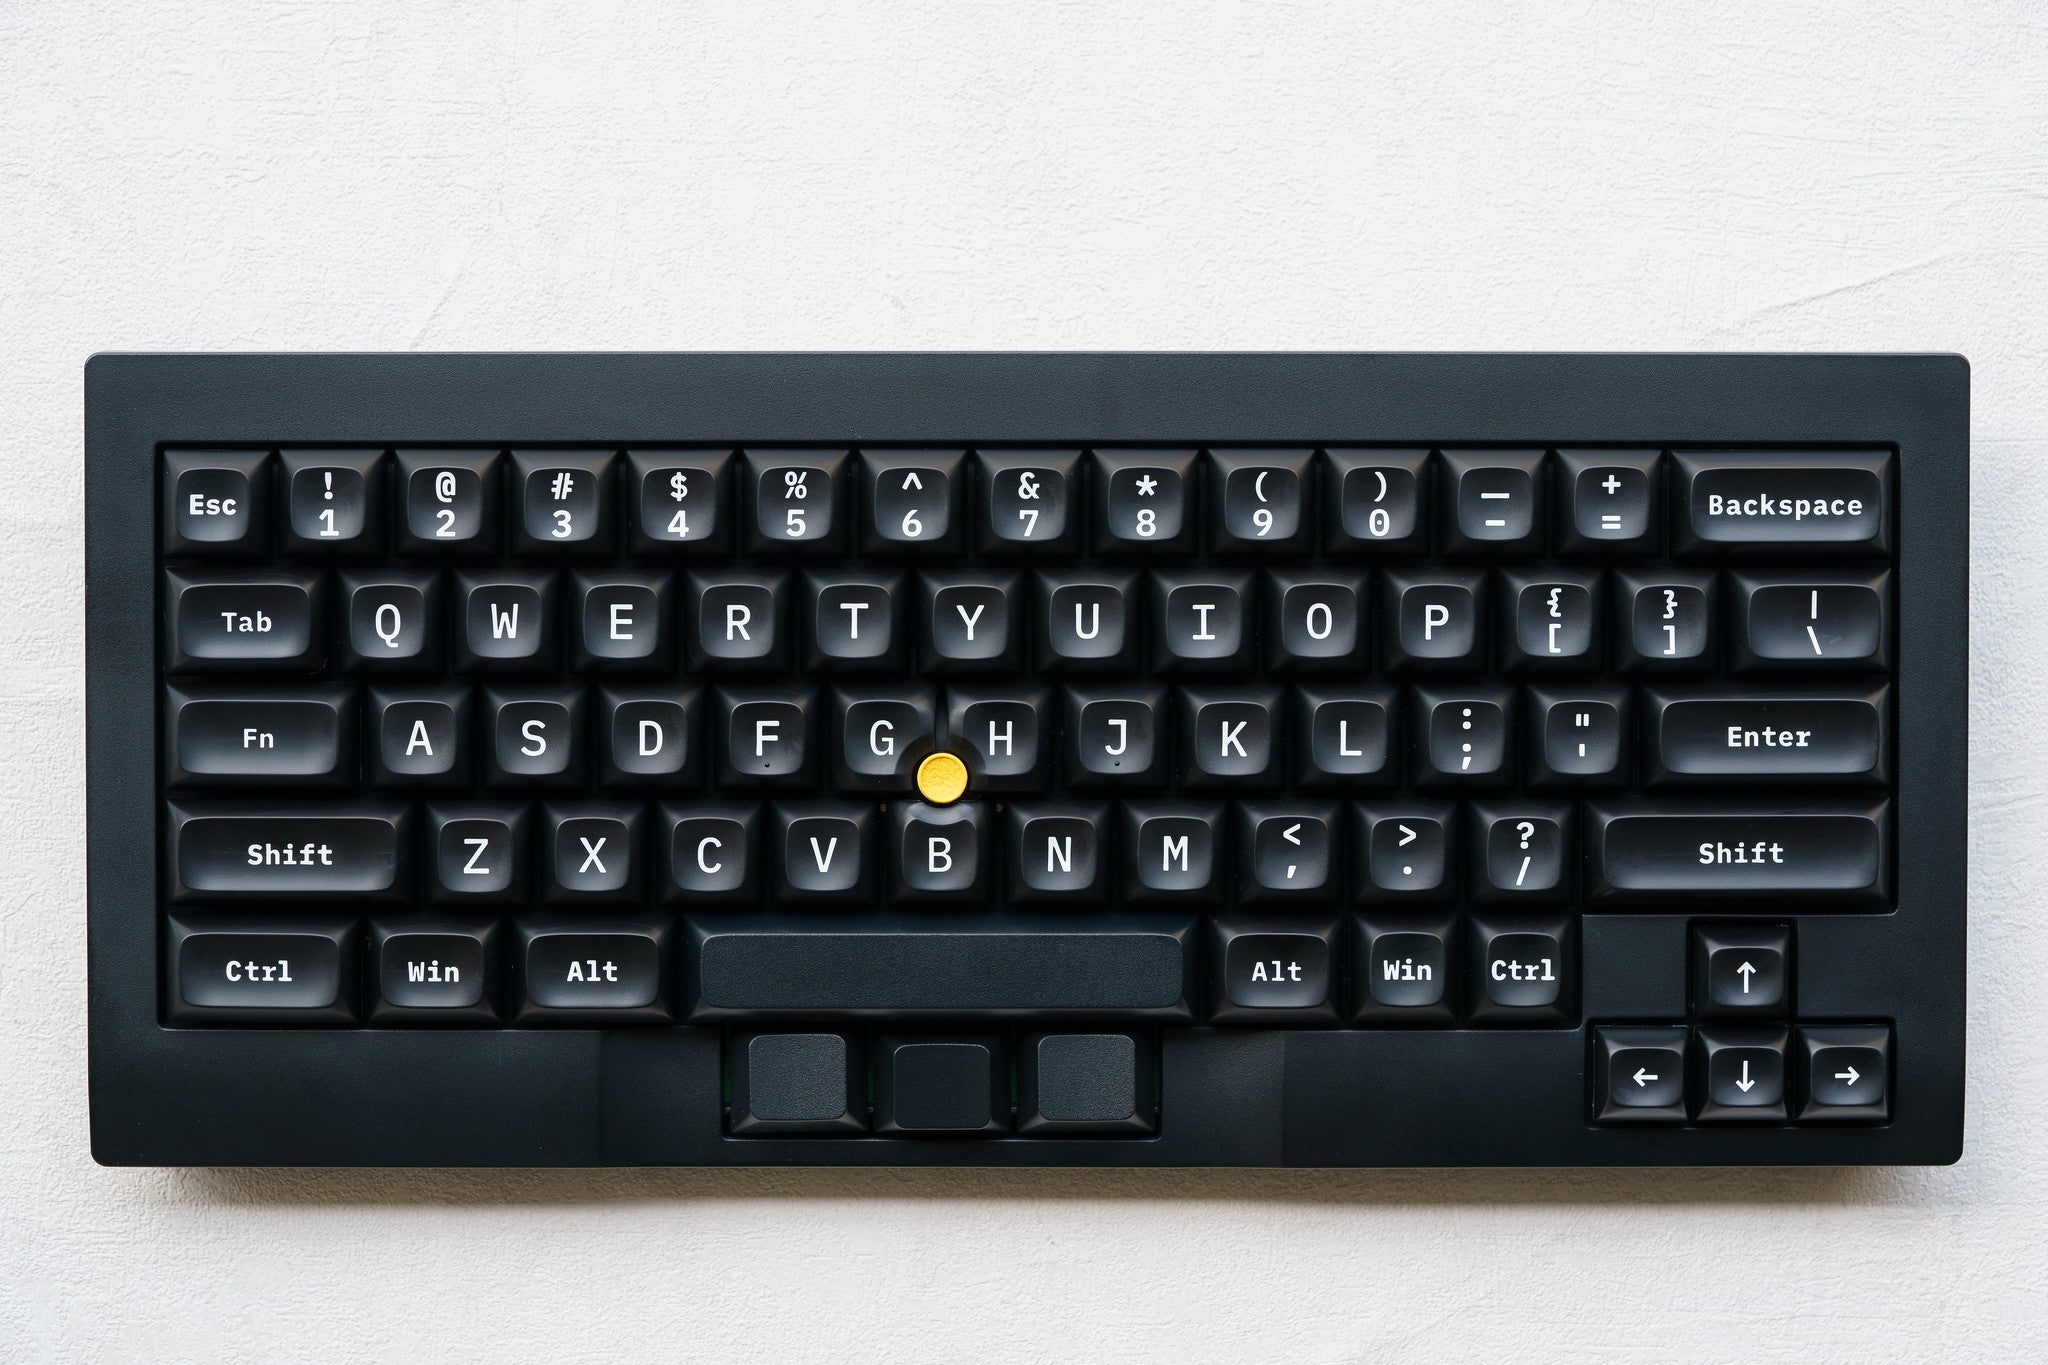
TEX SHINOBI - Layout print
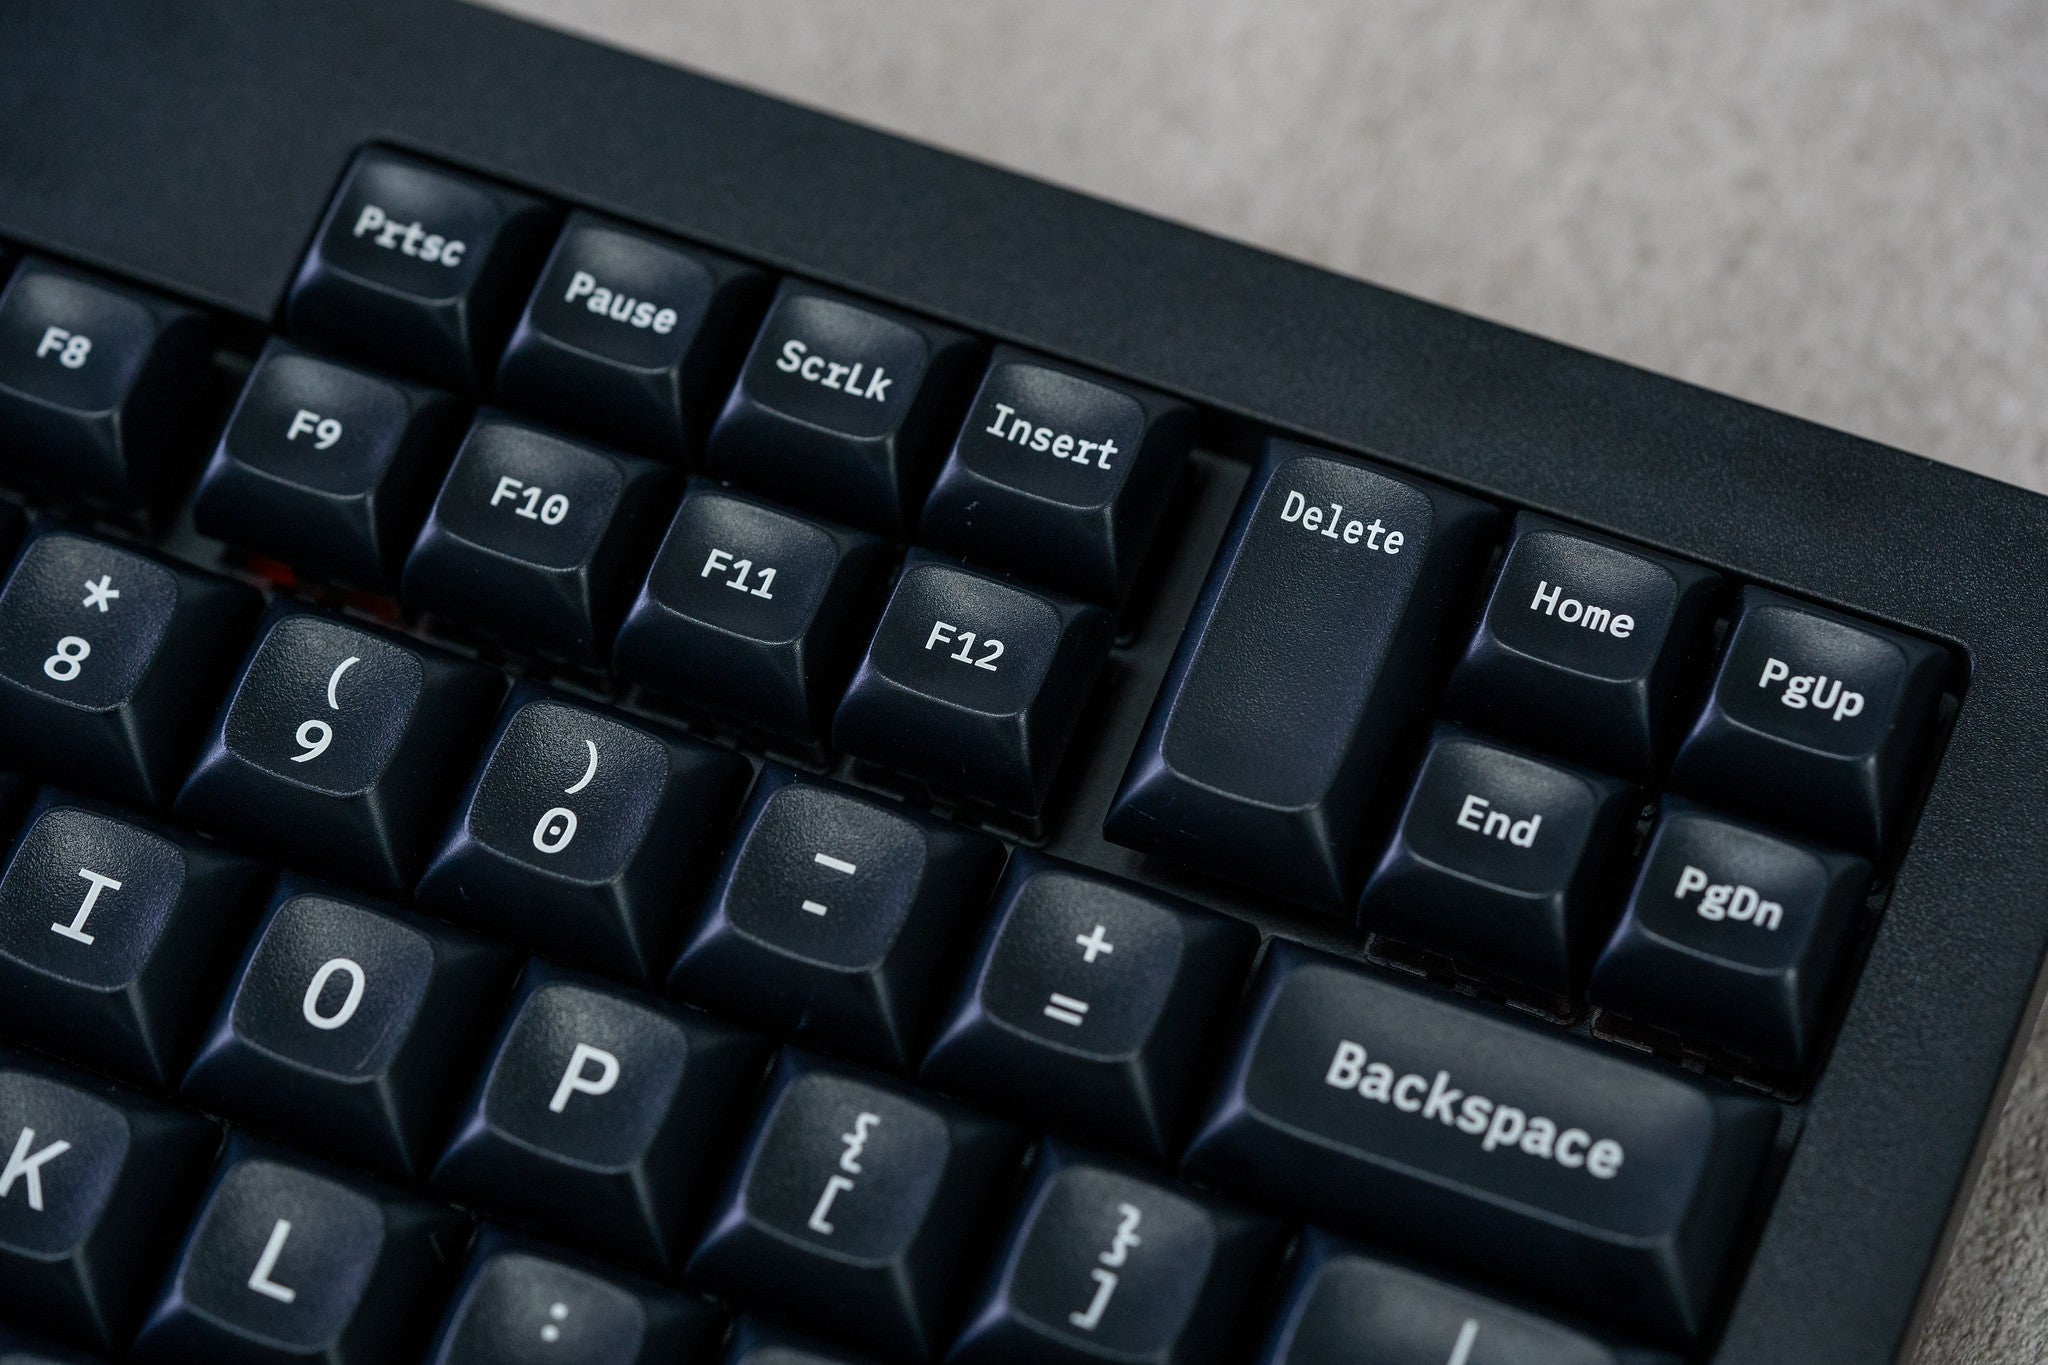
About TEX Shinobi - JIS Layout